
The software used on this blog is:
・ iTunes
・ Audacity
・ SoundEngine Free
Use of iTunes is optional.
The basic work flow is to import CDs to PC with iTunes, create WAV files, and process the sound quality with SoundEngine Free. In some cases, split files or change playback speed in Audacity.
It is an image of procuring ingredients with iTunes, separating ingredients with Audacity, and cooking ingredients with SoundEngine Free.
Here is the download link.
https://www.audacityteam.org/download/
https://forest.watch.impress.co.jp/library/software/soundengine/
SoundEngine Free is compatible with Windows only. Instructions on how to use it on Mac are posted on the official website.
https://soundengine.jp/wordpress/penguin_press/press_release/2864/?_=1515032565207
How to translate:
![]()
First, I will explain the points to note in iTunes settings.
By default, iTunes is installed on C drive of PC. When installing for the first time, install according to the initial settings.
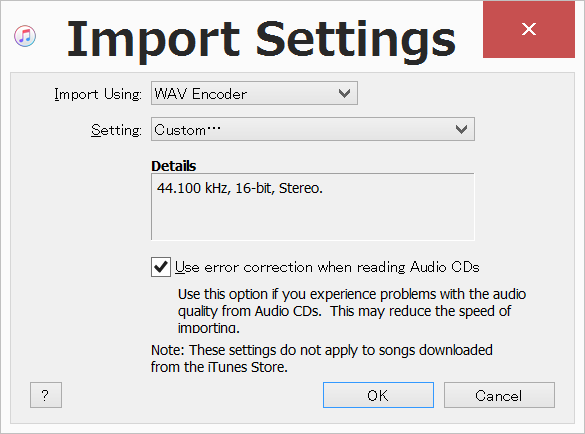
Start iTunes, open Preferences from the Edit tab at the top of the screen, and set Import Settings to "WAV 44.1kHz 16bit Stereo". Next, check "Use error correction when reading Audio CDs".
Click the OK button, click "Advnced" at the top right corner of the screen to move to the "Advanced Preferences" screen, then check them:
・Keep iTunes Media folder organized
・Copy files to iTunes Media folder when adding to library
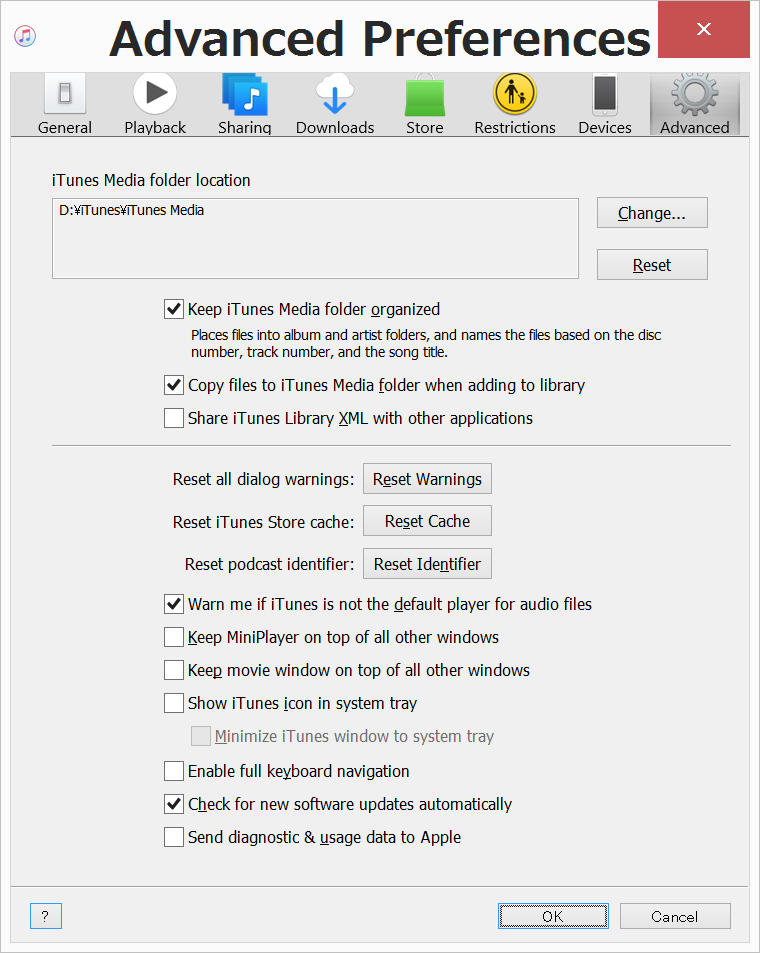
The storage destination for music files imported to iTunes is set to a folder called "iTunes Media" on PC. If you want to change the storage destination from PC to an external HDD/SSD or other recording medium, you need to devise some ideas. Even if you change the storage destination in the Advanced Preferences, the settings are reset for some reason when you restart iTunes.
・How to change the storage destination of music files to a storage medium such as an external HDD/SSD
There is a folder called "iTunes" in the "Music" folder on PC. Right-click to copy and paste it on an external recording medium.
Then, start iTunes while holding down the Shift key. Then the following screen will be displayed.
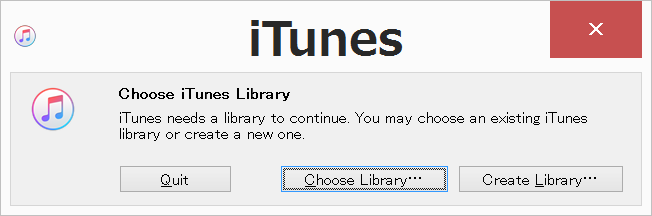
Click "Choose Library", choose "iTunes Library" (.itl) in the iTunes folder on the external recording medium, and click the Open button. Then iTunes starts.
Open Preferences from the Edit tab and make sure that the location of the iTunes Media folder in Advanced Preferences is switched to D drive. Restart iTunes, and if there is no problem, it is successful. Deleting the iTunes folder on PC is optional.
If you are using a portable media player iPod with iTunes, you need to be careful when updating the iPod software. Software update may fail and iPod may not start. You will not be able to update or restore, and you will see error number 9, 4005, 4013 or 4014 on the iTunes screen.
The solution is to start iTunes while holding down the Shift key, click "Create Library", create a temporary folder and library on C drive, start iTunes, connect iPod to PC and redo update that is.
Manual setting is recommended when syncing songs to iPod. Click Devices from Preferences and check "Prevent iPods, iPhones, and iPads from syncing automatically". Also, check "Manually manage music and videos" on the screen that appears on iTunes when connecting iPod.
That's all for iTunes settings.
Start Audacity, and click the item named Mixer Toolbar in the item named Toolbars from the View tab at the top of the screen to uncheck to hide it.
If you are advised to install unnecessary software when installing SoundEngine Free, uncheck it and click the No button. Select the normal mode as the startup mode.
Start SoundEngine Free, and from the Option tab at the top of the screen, click on the item "Play at the same time to open (Play as soon as it opens)" in the item "Transport" and uncheck it.
Prepare a suitable WAV file and drop it in the center of the screen. Make sure the file is stopped, and click Auto Maximize from the Dynamics tab at the top of the screen.
In the initial setting, the value in the input field is 0dB, but please delete all this for each unit and enter -20 (minus 20) in half-width character. Finally, shrink the screen and remove the knob, leaving only the input field. Click the close button at the top right of the screen without clicking the OK button.
The ratio of the screen size of each setting item is linked, and the knob disappears from all the screens by the above operation.
Before shrinking:
After shrinking:
When entering a numerical value, be sure to enter it in half-width (single-byte) character.
You do not need to enter units. Also, the unit originally displayed in the input field may be deleted. Once the screen is closed and the screen is opened again, if the value is an integer, it is automatically displayed to the first decimal place, and if the unit is deleted, it is displayed again. The entered value settings are saved even when the screen is closed. Do not use the Enter key.
When saving a file, clicking the Save button will instantly overwrite and the original file will move to trash. Use the Save As button instead of the Save button.

